
No products in the cart.
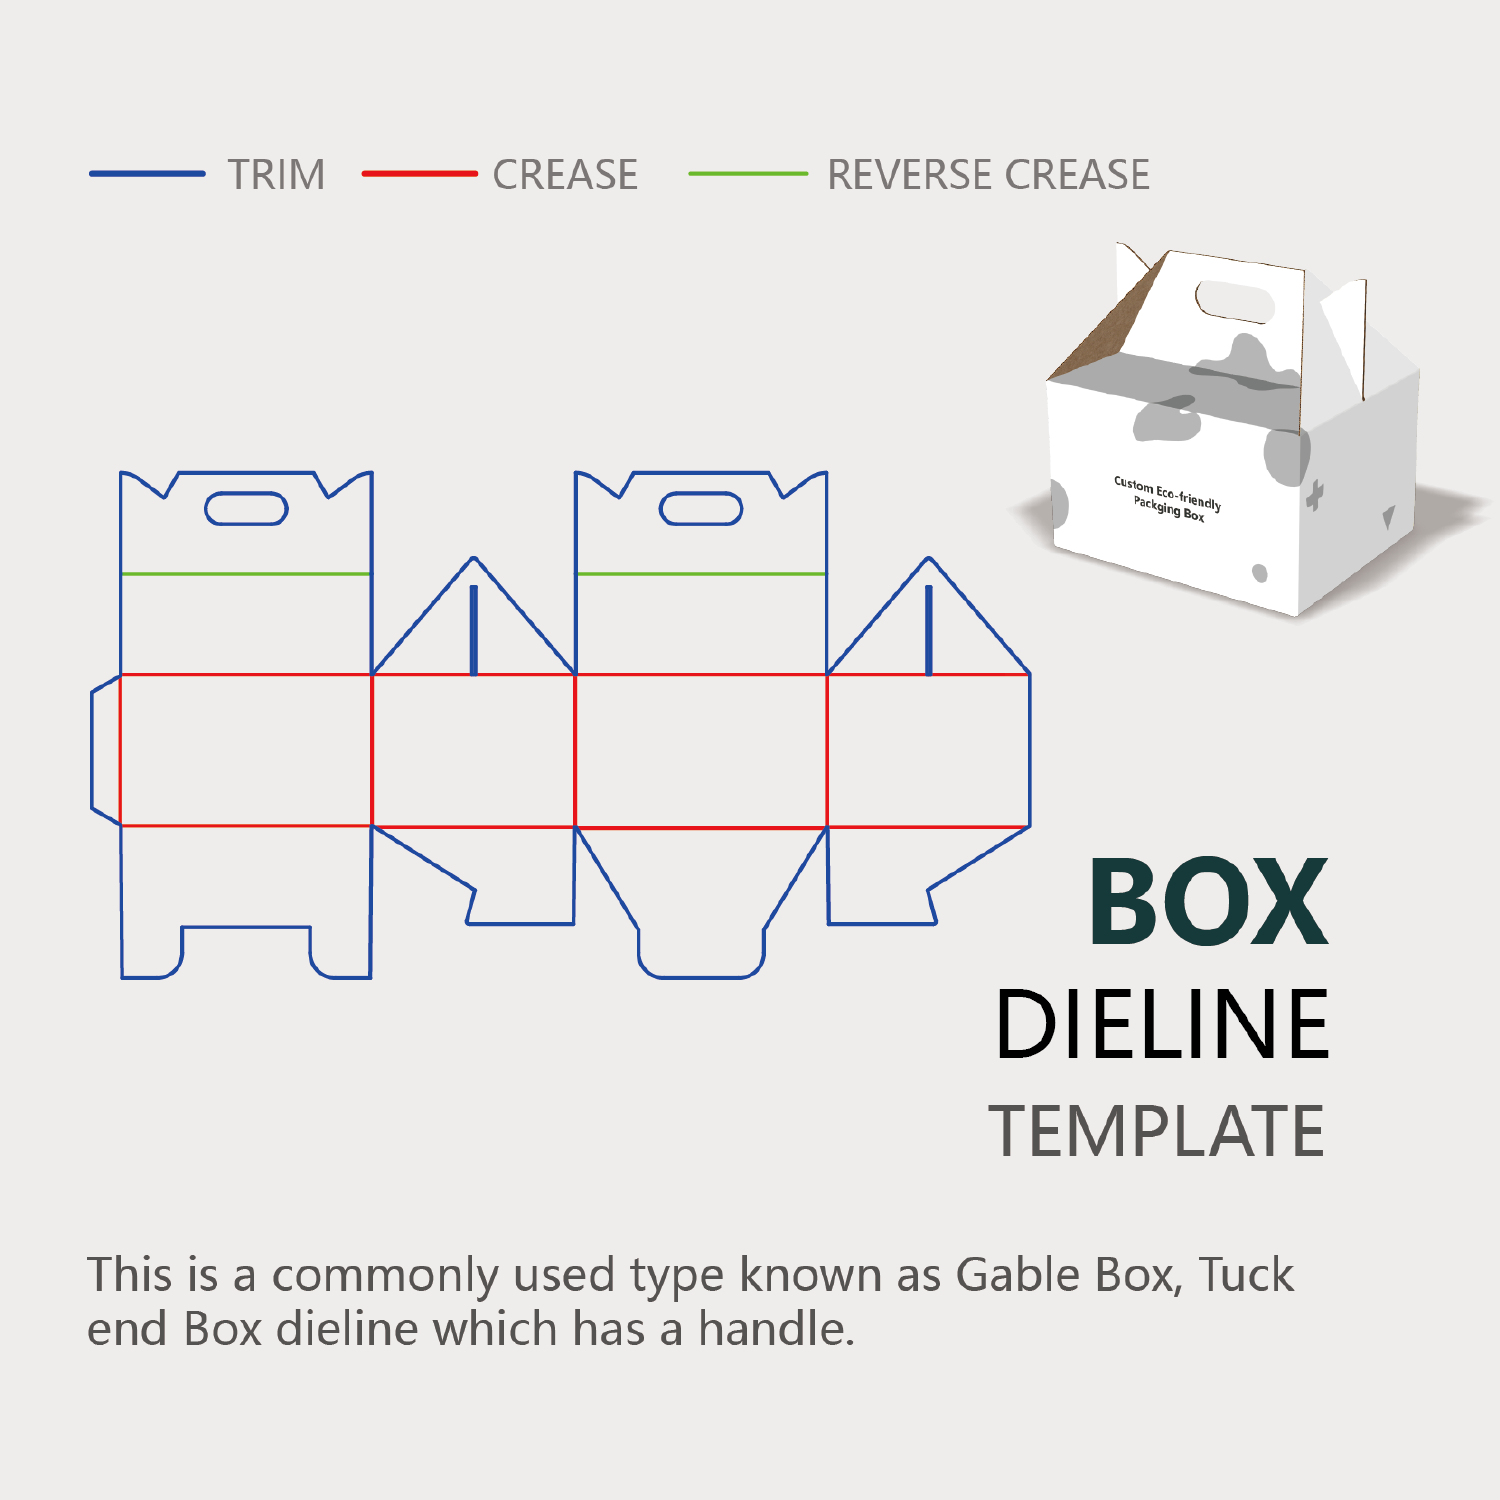
1. What Exactly is a Dieline?
In simplest terms, a dieline is a digital template for a package. It’s a flat, 2D diagram that outlines all the cuts, folds, and perforations needed to create a 3D package.
Think of it like a dress pattern for a garment or a blueprint for a house. You wouldn't start cutting expensive fabric or pouring a foundation without a precise plan. Similarly, you should never start designing a package's graphics without its dieline.
Key Elements Marked on a Dieline:
- Cut Lines: Solid lines that show where the die (a specialized blade in the shape of your package) will cut the material. This defines the final shape.
- Fold Lines: Dashed or dotted lines that indicate where the material will be folded or scored to create the 3D structure. Getting these right is crucial for a package that assembles easily and correctly.
- Bleed Area: A critical area that extends beyond the cut line. Graphics must extend into the bleed to ensure no unprinted white edges appear after the package is cut. A standard bleed is usually 3mm (or 1/8 inch) beyond the cut line.
- Safety Zone / Margin: An area inside the cut line (usually another 3-5mm). It’s a safe buffer zone where you keep all crucial text (like ingredients, logos) and key graphic elements to ensure they aren’t accidentally trimmed off or too close to a fold.
- Glue Tabs: Areas marked for adhesive that will hold the package together.
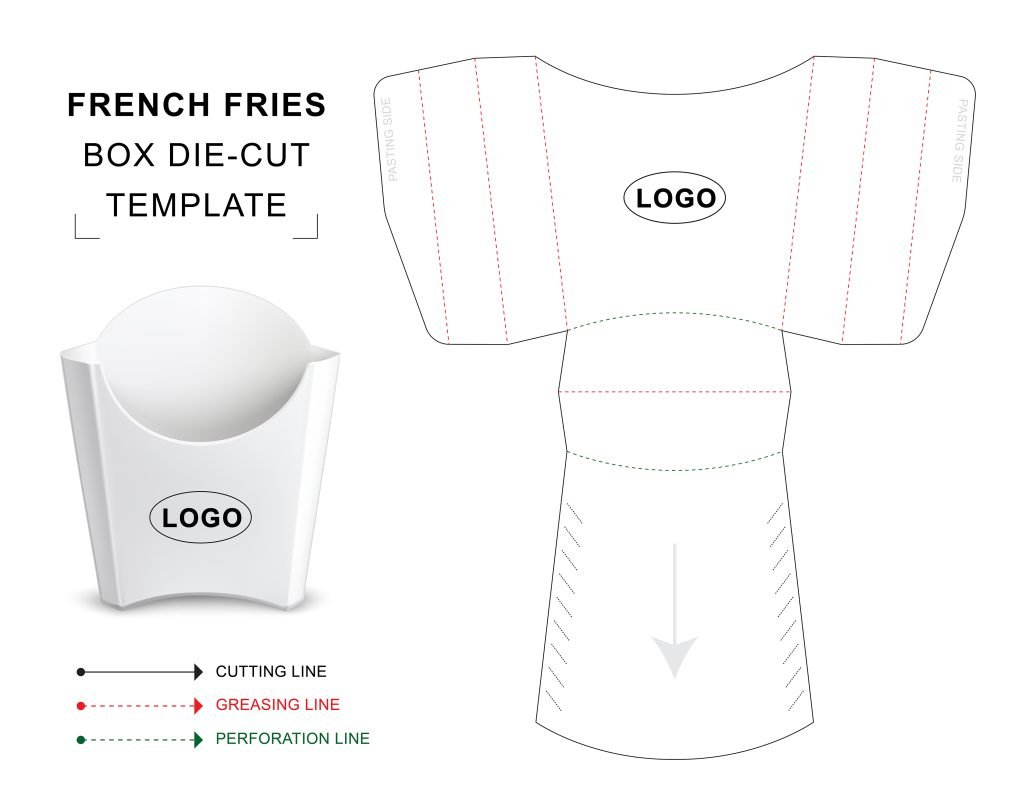
Here is a visual example of a simple dieline for a product box:
2. Why is the Dieline So Important?
- Prevents Costly Mistakes: This is the biggest reason. A missing bleed or an incorrect fold line can ruin an entire print run, wasting thousands of dollars.
- Ensures Structural Integrity: The dieline is engineered for function. It determines how the package will hold its shape, protect the product, and sit on a shelf. A beautiful design is useless if the box doesn’t close properly.
- Guides the Designer: It provides a precise canvas. You know exactly where folds will happen, so you can avoid placing critical text across a crease where it will become distorted.
- Universal Language: It’s the technical document that allows the graphic designer, client, and printer to all be on the exact same page.
3. How to Create and Use a Dieline: A Step-by-Step Overview
- Concept & Sketch: Start with a rough sketch of what you want the package to look like in 3D.
- Software: Dielines are created in vector-based software like Adobe Illustrator. This is non-negotiable because vectors scale infinitely without losing quality, ensuring precision.
- Draft the Structure: Using tools like the Pen Tool, shapes, and pathfinder, you draw the outline. You must use separate, labeled layers for cut lines, fold lines, and bleed.
- Test It! The most crucial step. Print your dieline on a regular sheet of paper, cut it out, and fold it by hand. This physical prototype will instantly reveal any errors in your engineering before it goes to the professional printer.
- Apply Your Graphics: Once the dieline structure is confirmed, you place it on a top layer in Illustrator, set its opacity to ~20%, and lock it. You then design your gorgeous graphics beneath this template layer, ensuring everything aligns perfectly with the cuts and folds.
Delivery to Printer: When sending final files to the printer, you provide the dieline as a separate, labeled artboard in the same AI file. They will use it to create the actual die for cutting.


2 comments
this looks good
this looks awesome